I’m not a health-nut; I don’t like counting calories; and I loathe exercising. What I do like is lying down; snacking; and lying down while snacking. Occasionally picking up the dumbbells when walking up the stairs feels like climbing Mount Kilimanjaro.
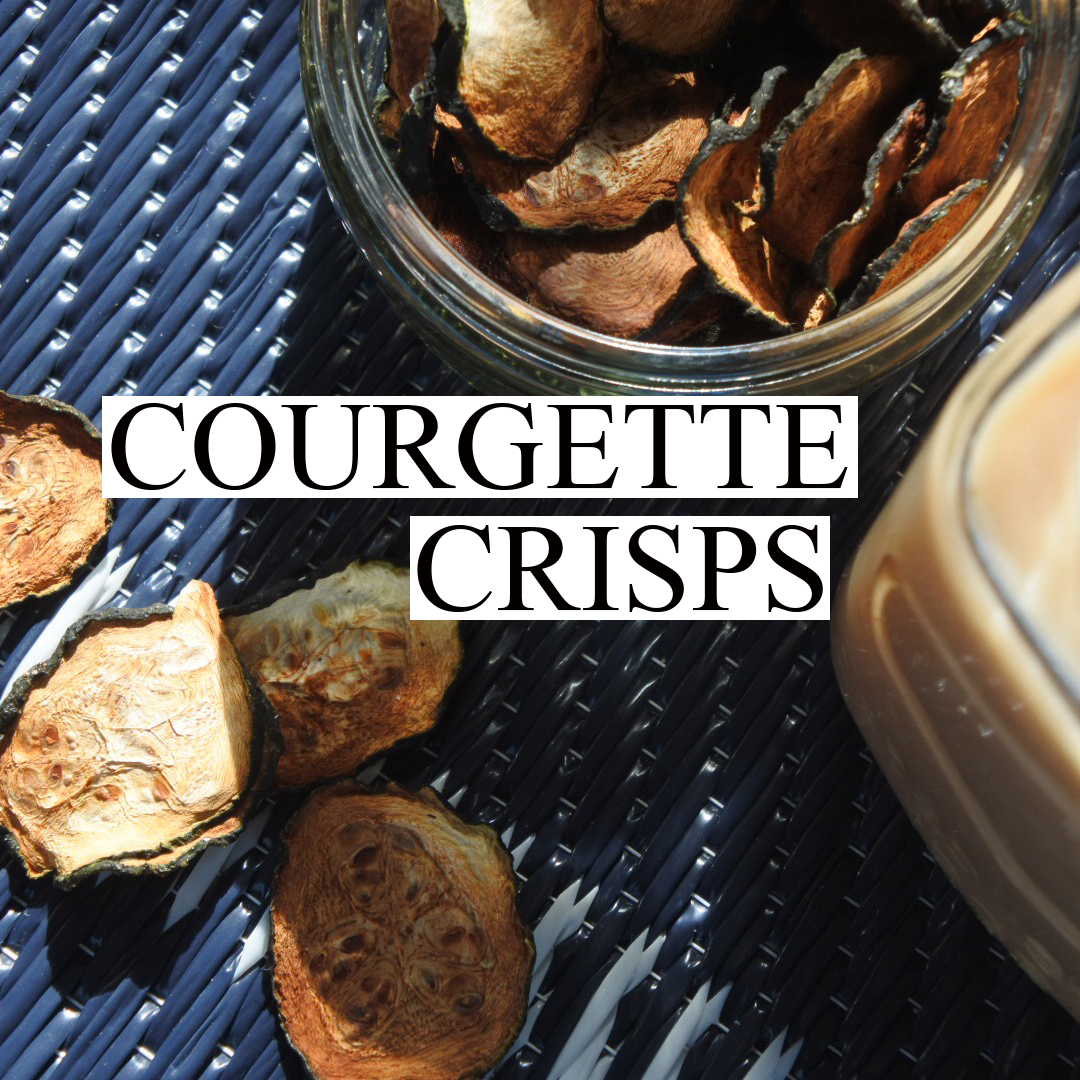
Other than that, I spend a lot of my time in the kitchen; and with the current situation, I’ve practically moved in. Since the beginning of lockdown, I’ve noticed that my habit of snacking throughout the day has… extended… well into the night. This did not concern me per se, but my body and the seams of my jeans were starting to give little warning signs. I thought about quitting but I’d never be able to maintain going cold turkey. I needed a compromise. Enter homemade courgette crisps. All the salty, savoury goodness with none of the guilt afterwards. This way, I know exactly what I’m putting into my body, and I won’t feel as bad for finishing a portion suited for a family of four.
So, if you love to snack but your waistline doesn’t, these are perfect for you; but be warned: they’re addictive, and people will question why you’re buying courgettes by the bucket load. (Yes, I speak from experience.) For the ultimate courgette crisps, all you need are:


Ingredients:
2-4 courgettes
Rosdee chicken stock/salt/pepper/ or seasoning of your choice.
Greaseproof paper.
Cooking time: 1 – 2 hours.
- Step 1: Slice the courgette at a 45-degree angle, keeping each slice consistent in thickness; 1-2mm is perfect, anything thicker will only add to your cooking time.
- Step 2: Lay out the slices on kitchen paper and set them to dry overnight (I know, I hate this step as much as you do).
- Step 3: Gently pat the courgette slices dry with kitchen paper, after which you’ll want to pre-heat the oven to 75 degrees.
- Step 4: Line an oven tray with greaseproof paper and then place the courgette slices on top making sure to leave a gap between each slice.
- Step 5: Place the tray on the highest rack and cook for 10 minutes.
- Step 6: Remove the tray and lightly sprinkle Rosdee or your chosen favouring of your choice on top. Place back in the oven to brown. Check on them every 25-30 minutes. Once they start to brown, check on them more often until they are crispy.
- Step 7: Set aside to cool. Enjoy!
*N.B. Some pieces, especially if you are a little inconsistent with your slices, may be ready before others. Take them out as necessary.
I hope you enjoy them as much as I did. I know it can be a little time consuming but trust me, the juice is worth the squeeze. If you do decide to give this recipe a go, please let me know how it went in the comment section below. If you like it as much as I do don’t forget to share it with your friends.
That’s it for me this month! Thank you for taking the time to stop by. If you want to see a little more of me during the week, my Instagram and Twitter are linked in the top corner. See you soon; stay safe; and happy snacking!
-Paphapan.
This is not a sponsored post. All/any affiliate links are in bold and underlined.


Leave a Reply